Tim’s new hood for the 4a
I have been promising the 4a a new top for the past 5 years. In March I purchased a new one from ‘Prestige Autotrim Products’, organised a fitter and then entered lock down, argh!!!. After doing a lot of research and with all the time in the world I decided to go the DIY route. Here we go then……..
Stage 1 – Take it apart
Removed the rubber seal and securing channel from the front underside of the hood frame. Released the old hood from the front of the frame, this is easily done as the hood material is glued on.
At the back, undid the 5 rail securing bolts concealed underneath the hood. Released the trim rail from the car and remove the 7 ‘lift off’ pillars to release and remove the old cover.
Refitted the rear trim rail to facilitate measuring the webbing datum points between each frame rail. Documented any significant points for subsequent referral during install.
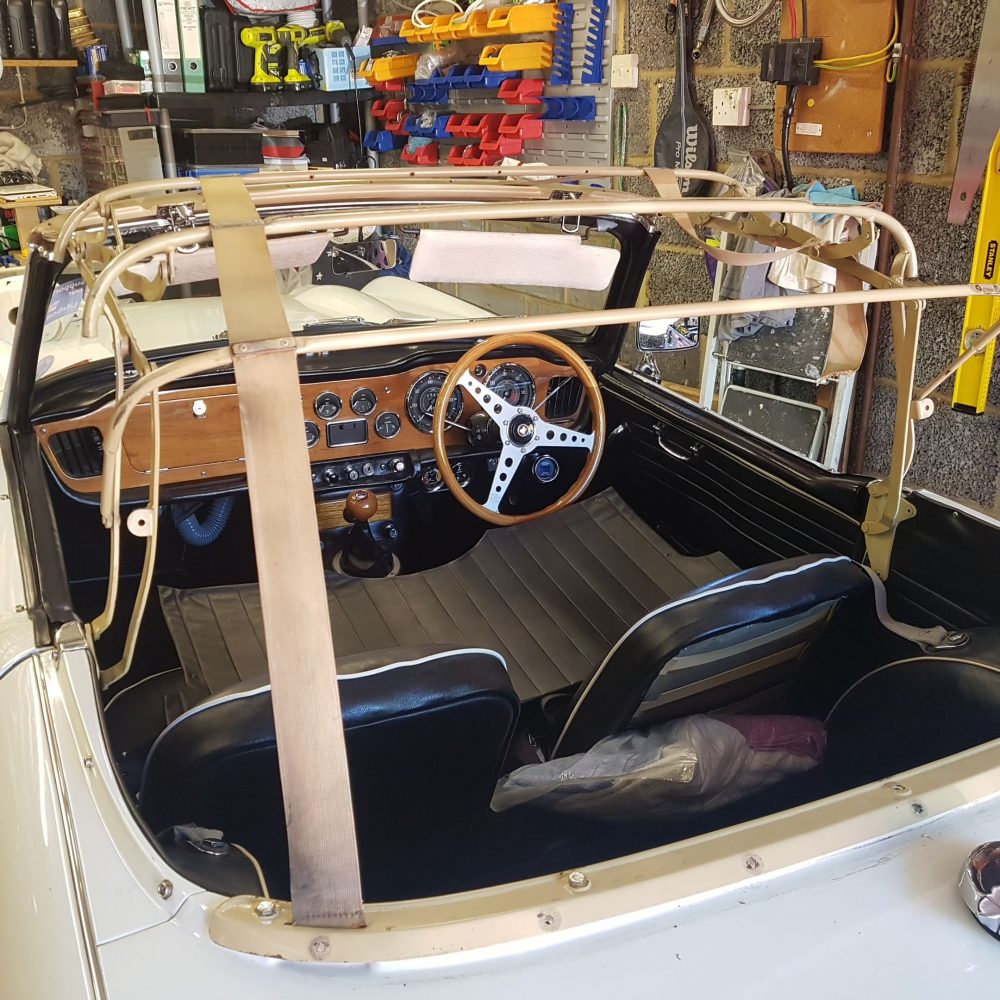

Stage 2 – Work on the frame
I drilled out all the pop rivets securing the webbing and removed and binned them. Rimmer Bros supply a great fitting kit that contains all the components that are required to fit the new hood.
Removed the entire frame from the car and examined it for problems, geometry, damage, wear etc. After 50 years a number of pivot points where excessively loose. Each pivot point is secured with a large rivet pin, to tighten the pivot point the rivet pin needs to be compressed. I achieved this using a ball pein hammer and an iron block with the pin sandwiched between them. A few strong blows of the hammer did the trick

Rubbed down the entire frame assembly with various grades of wet and dry. (it took forever) Washed and applied paint prep to the frame prior to painting. Did the same with the rear trim rail and sprayed it up.
After 2 coats of primer and 4 coats paint the frame is now back on the car and looking good. The next step is to fit the webbing and trial fitting the new hood making sure that the frame hoops match up to the seams in the hood.

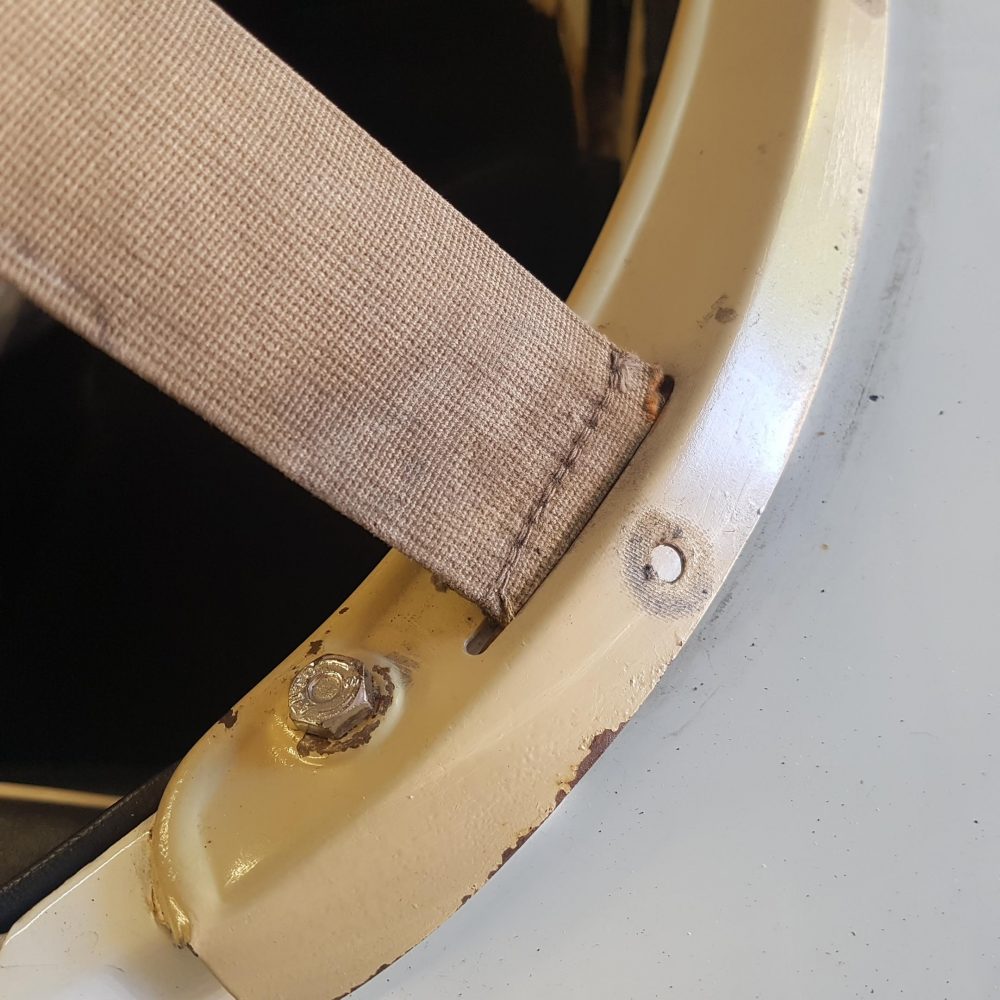
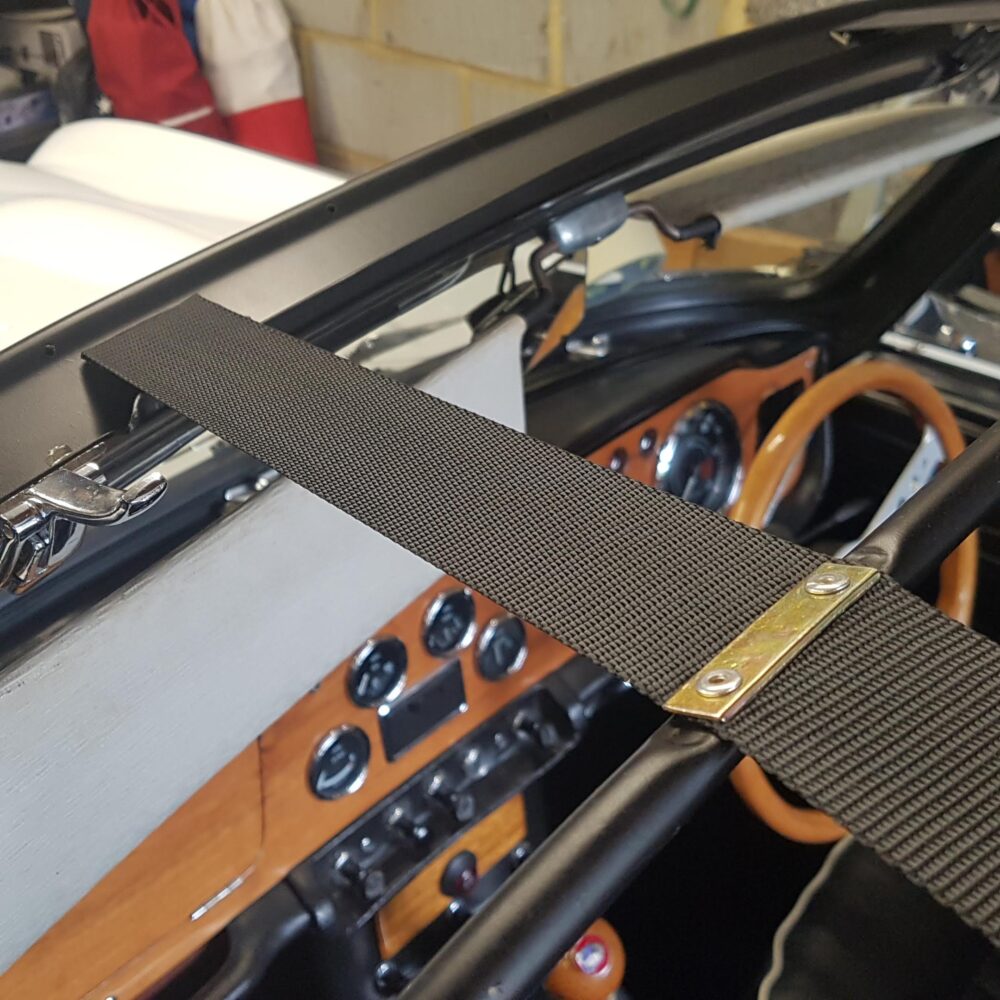
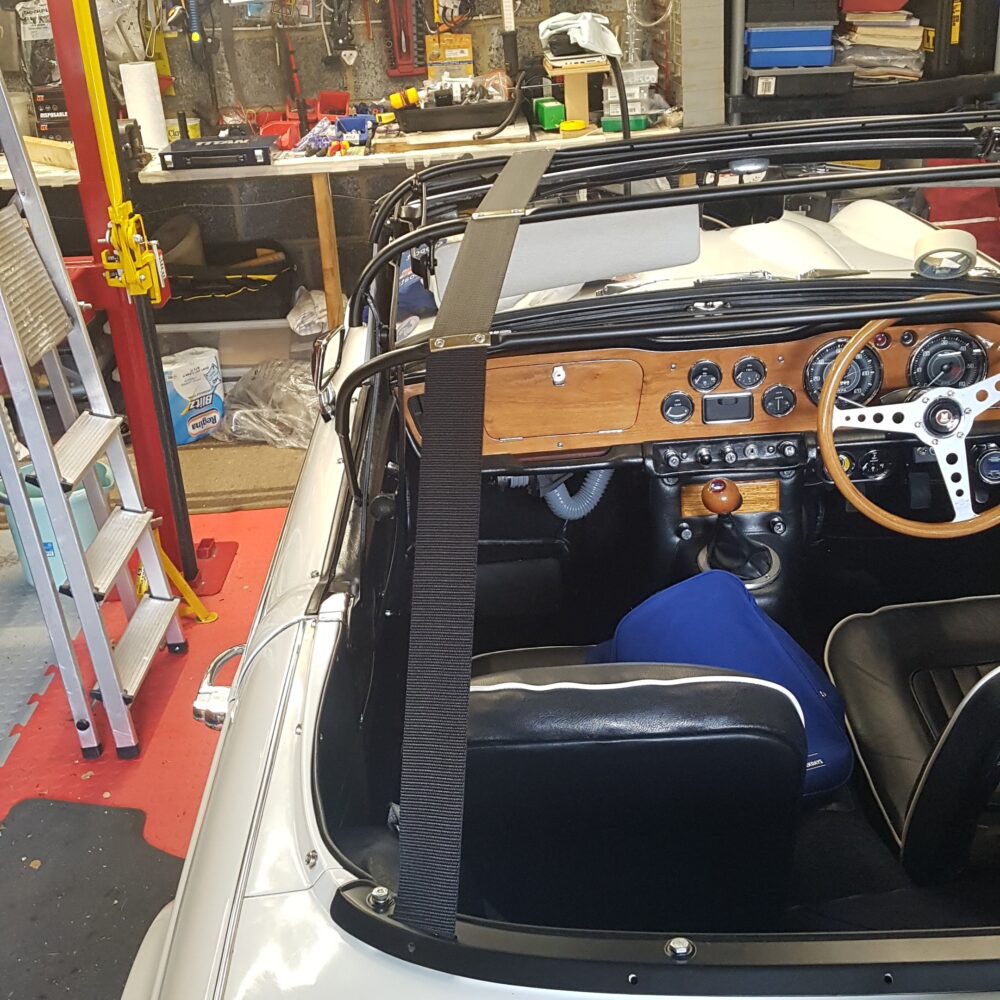
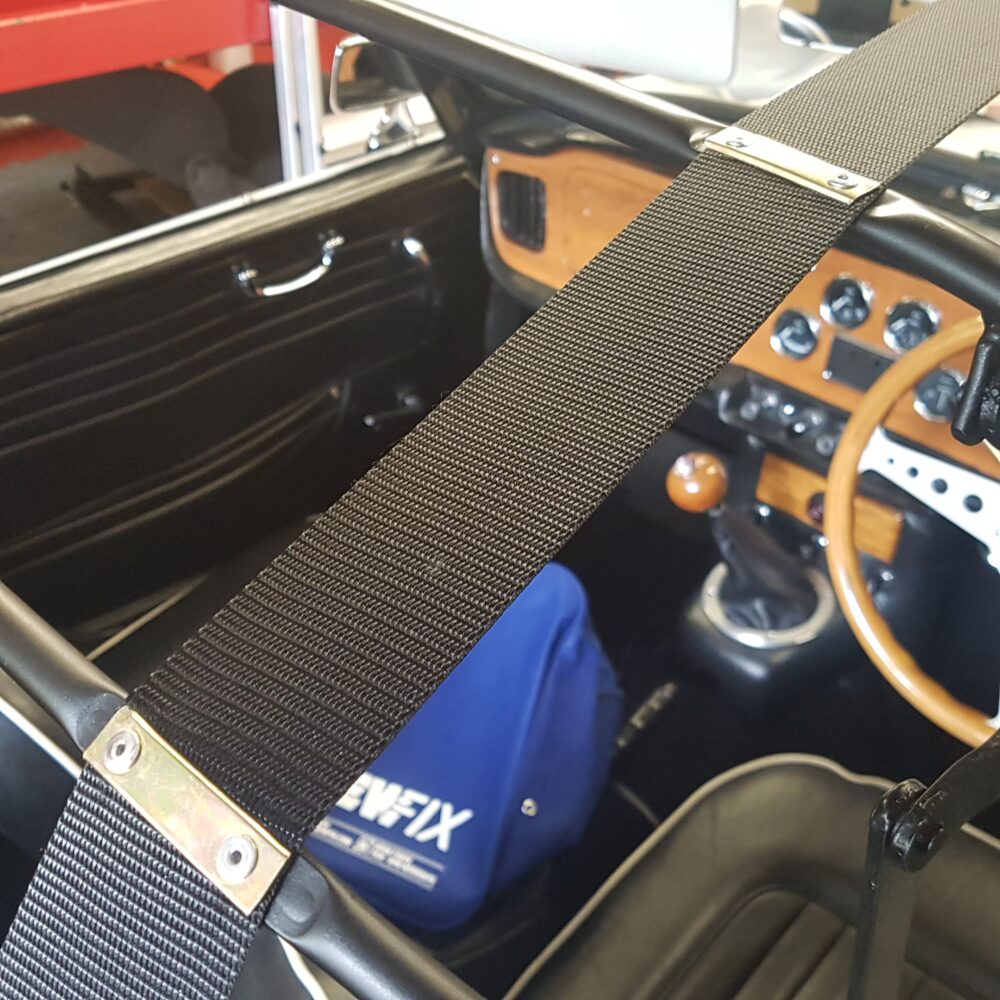
Stage 3 – Fit new webbing
Trial fitting the webbing into the rear restraining strip. The webbing came unfinished. Thanks to Avis sewing machine the retaining pins were secured.

Started to fit new webbing to the hoops unfortunately, the pop rivets supplied by Rimmer (3.2mm) were two small as it looks like the frame rivets had been drilled out more than once. Sourced some larger diameter rivets (4.0mm) from Ebay and now have to wait a few days for delivery.
The right size pop rivets arrived after a few days and the webbing has been completed.


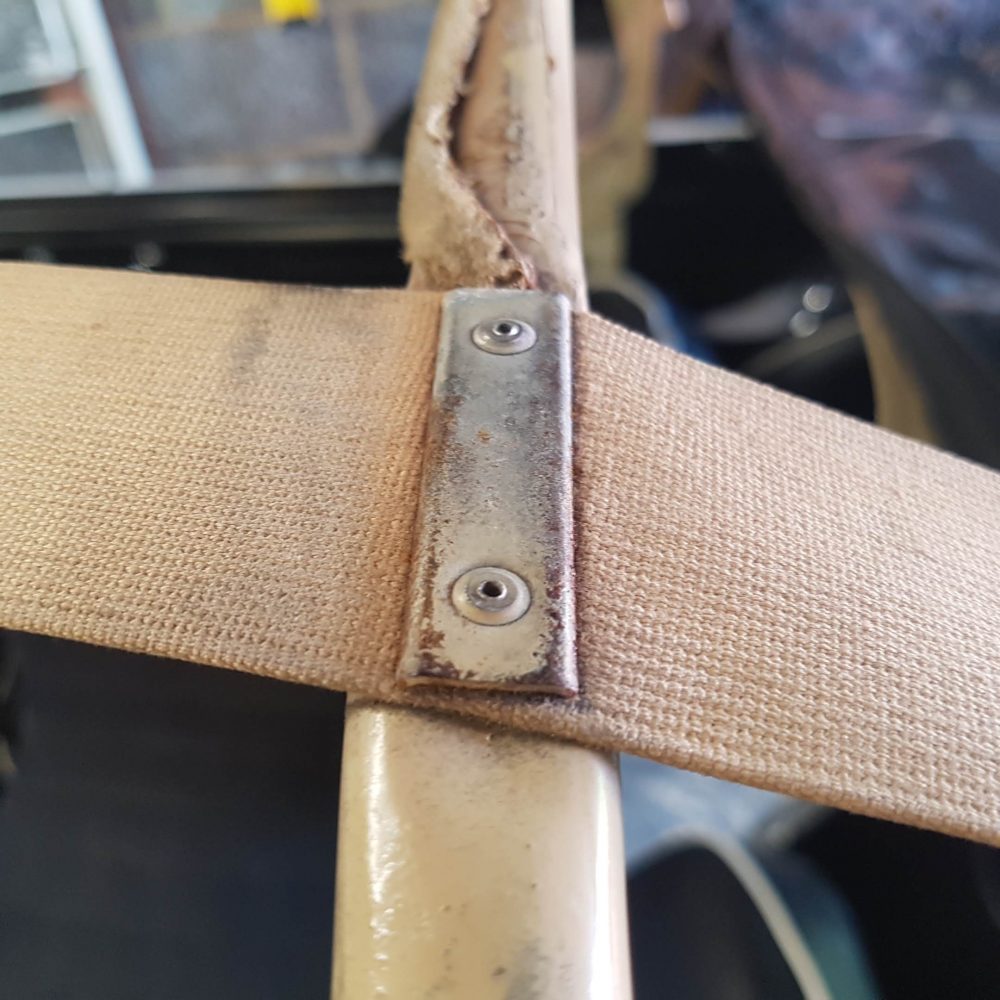
Now I will need to fit some ‘Twill’ material to the top of each hoop in order to protect the underneath of the hood from chaffing on the rivet heads. (Ooh painful)
What is Twill I hear you ask, it costs an arm and a leg from Rimmer’s. I obtained mine for a few pounds on Ebay and now have enough for a further 19 hood replacements.

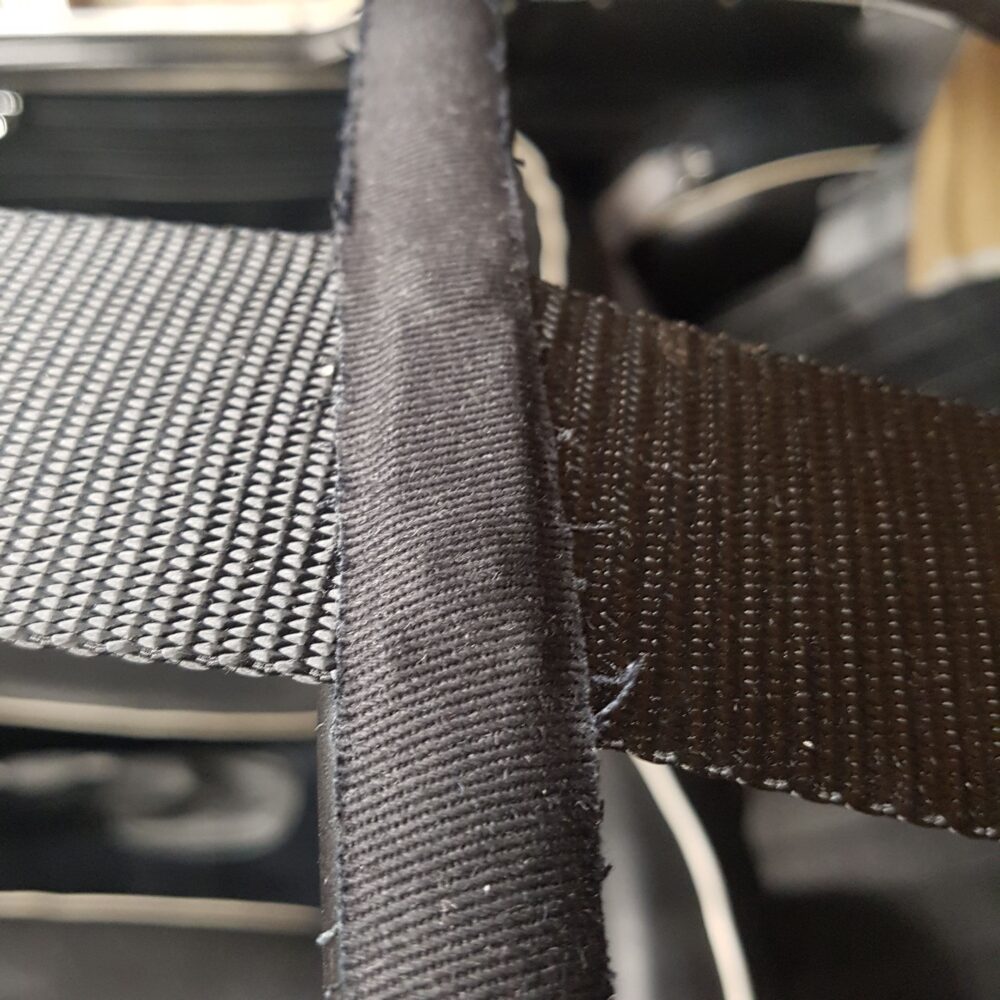
Twill glued to the hoops now waiting for a warmish day to put the hood on……..
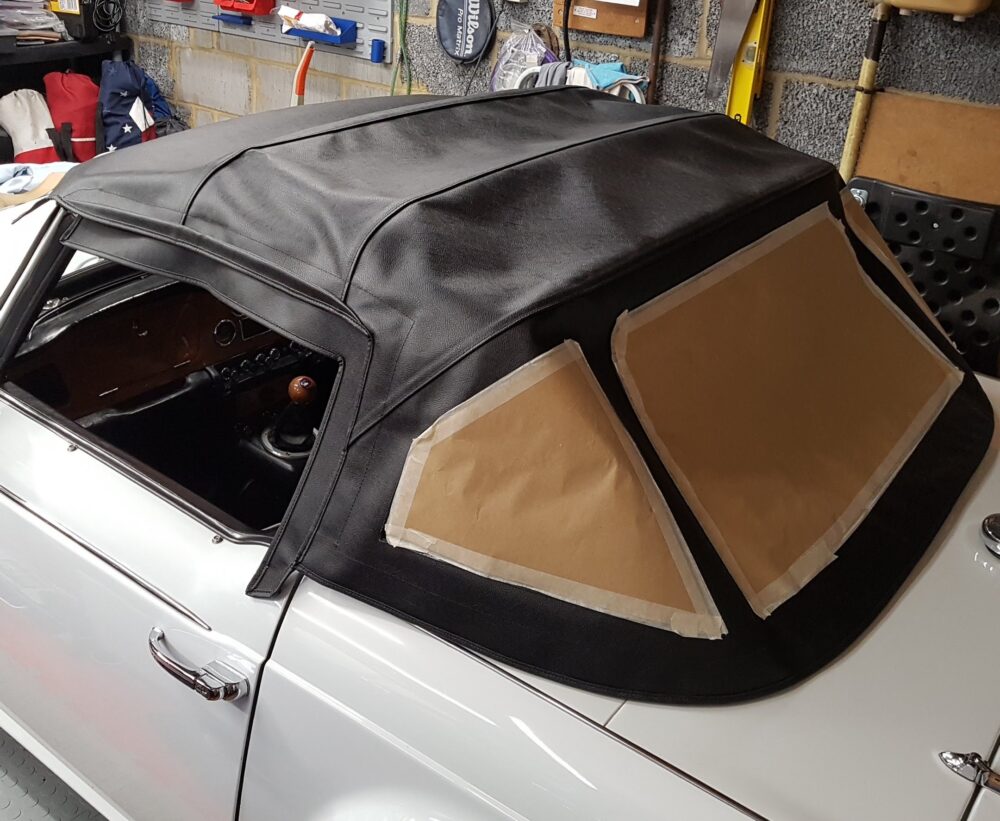
Stage 4 final fitting the hood
Measure and mark the exact centre point of both the front and back of the new hood. Mark these points with chalk.
Fit the rear retaining strip and find the centre dot lift pin hole in the strip. Using some masking tape mark the centre of the lift pin hole on the bodywork so that it can be used to align the back of the hood.
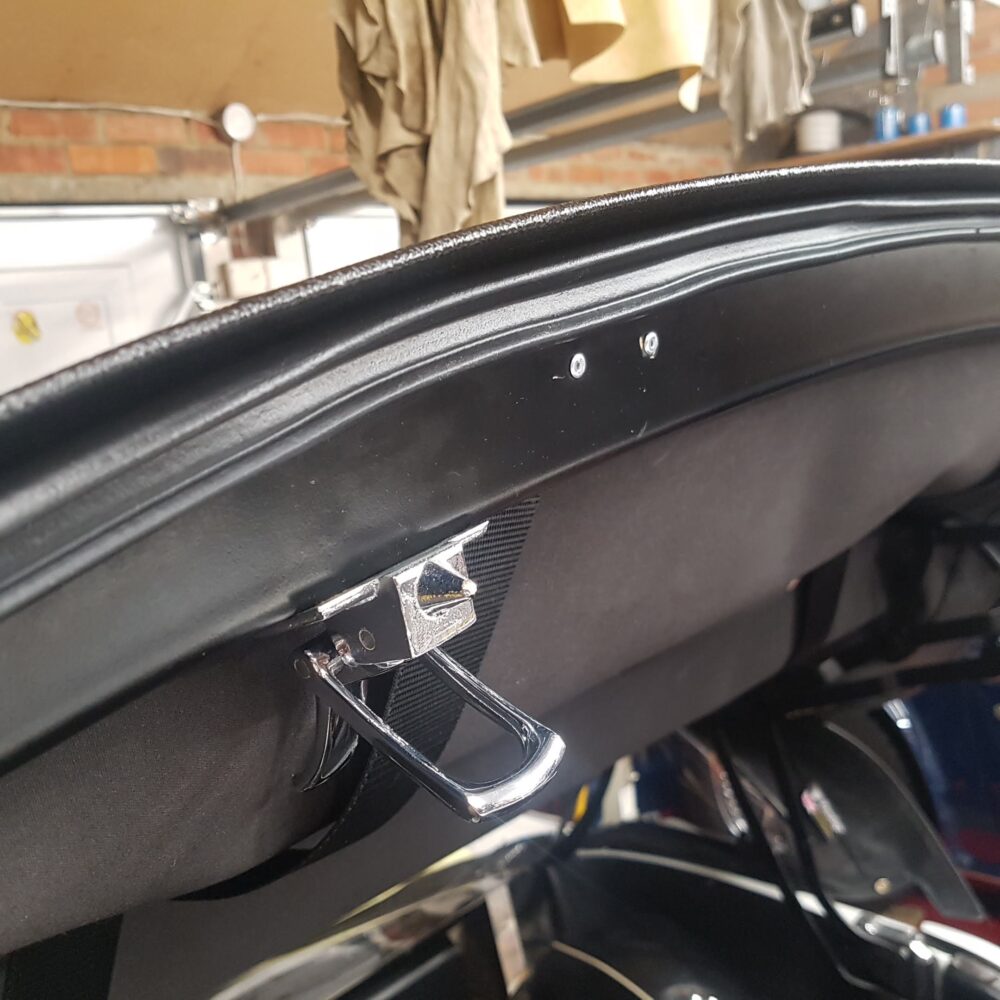
Find the centre pop rivet hole in the front retaining frame and again using masking tape mark the centre of the hole on the windscreen so that it can be used to align the front of the hood.
GETTING THE CENTRES OF THE FRAME AND HOOD ACCURATELY MARKED IS CRITICAL TO ENSURING A GOOD FINAL FIT.
Starting at the back temporary fitted the retaining frame and with back edge of the hood touching the body fitted the centre dot lift pillar. Then sequentially fitted the remaining pillars one at a time and on alternate sides making sure that the hood is pulled tight and touches the bodywork all the way around.
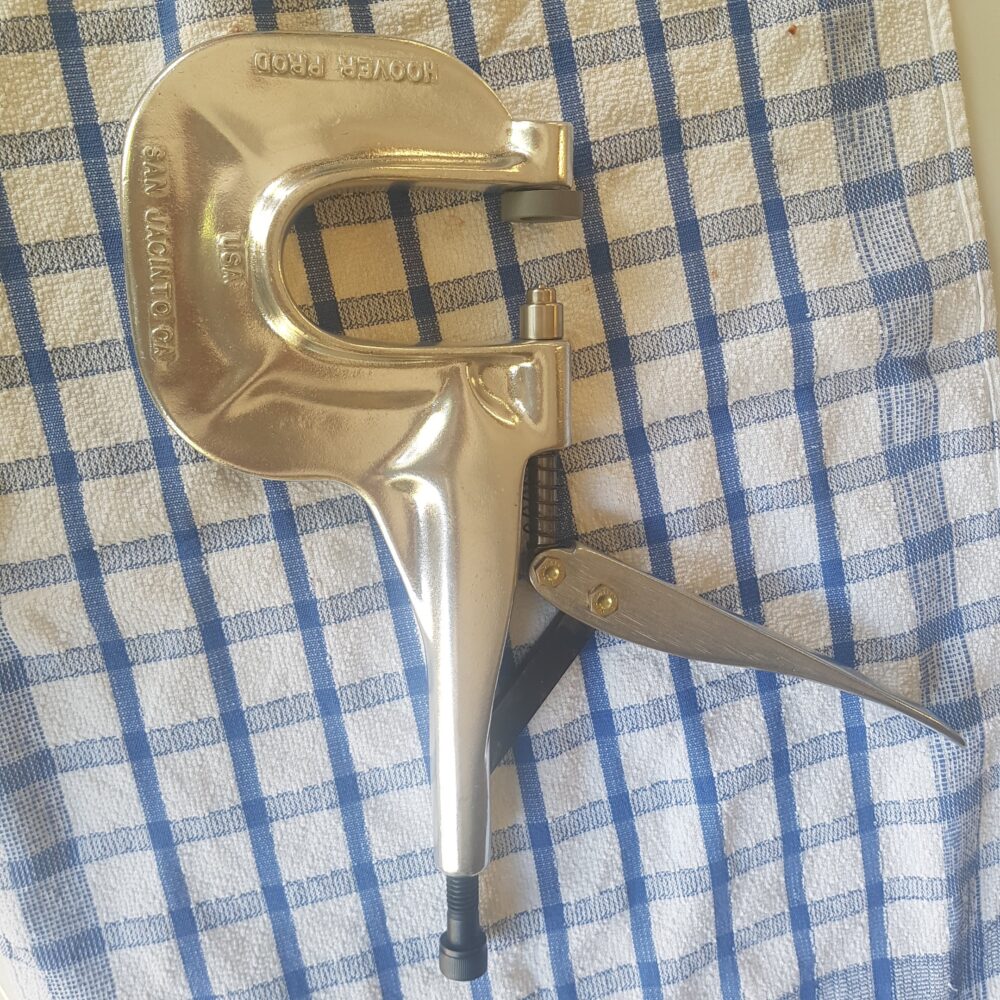
The next stage was fitting the the snap fasteners to the side panels. This was greatly assisted by the use of a special tool that I hired from JClarke Marine in Northern Ireland.
Pulling the side panel down and forward fitted each snap fastener one at a time on alternate sides starting from the back.
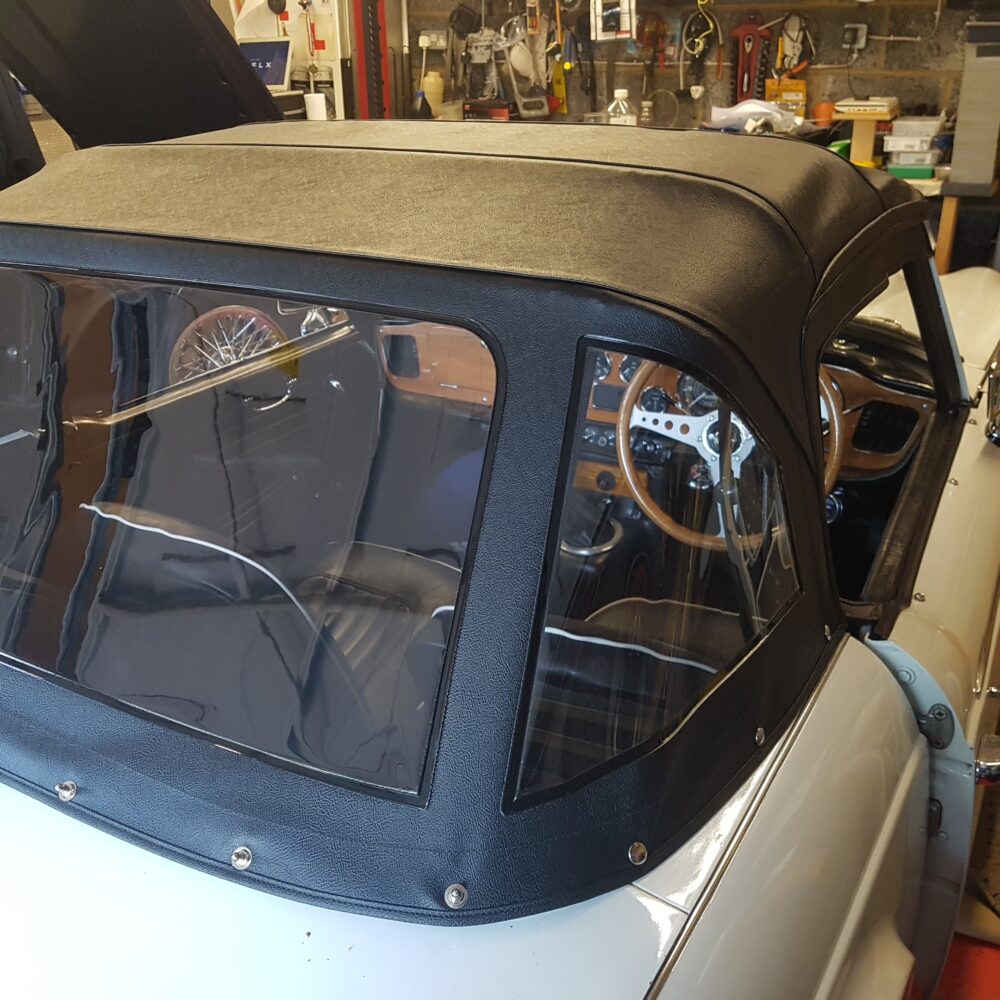
Now the scary bit, pulled the front of the hood tight across the front frame and marked the position to apply a 1.5 inch band of impact adhesive to the underside of the hood. Applied a corresponding strip of adhesive to the front frame.
Once the glue had dried and with the frame latches done up at the front I progressively pulled the hood tight and mated the two glued surfaces together fully securing the hood to the front of the frame.
Releasing the frame from the front of the car I applied glue to the underside of the frame and wrapped and glued the surplus material to the underside of the frame. I then fitted the rubber seal retaining channel to the under side of the frame with pop rivets.
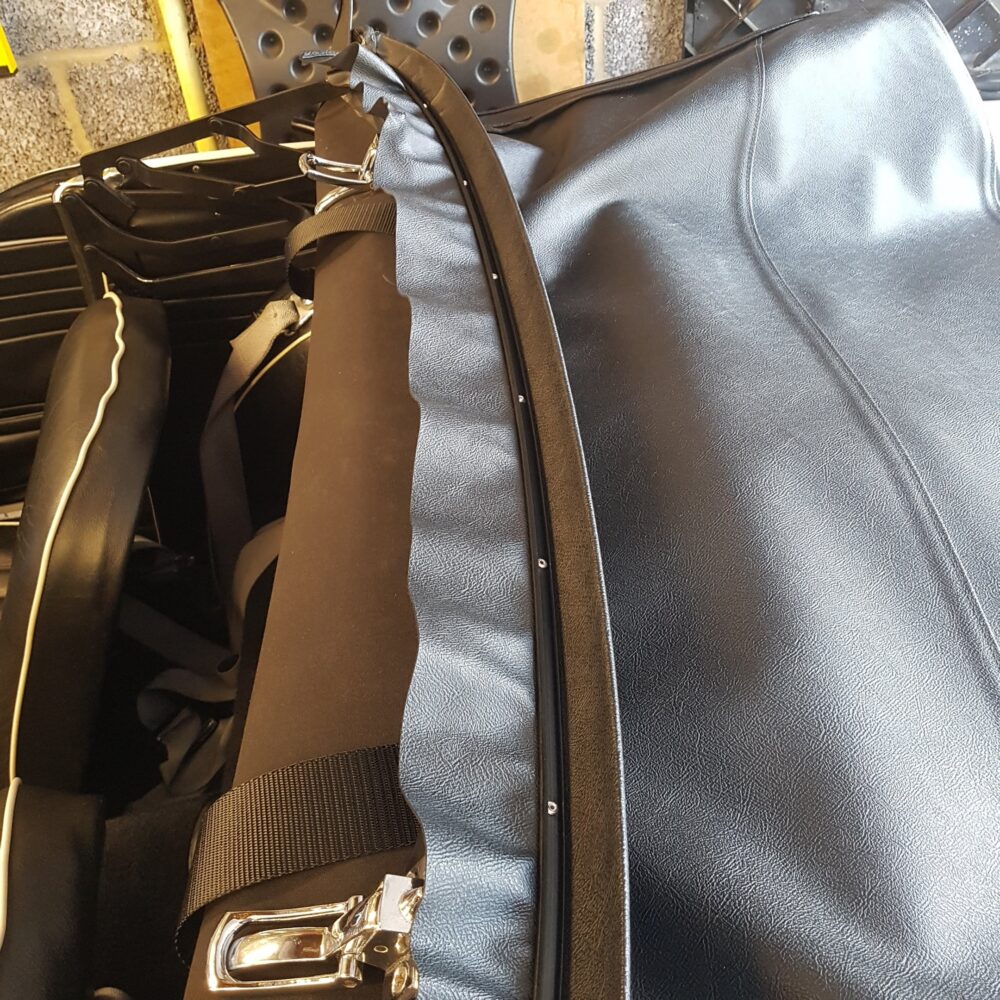
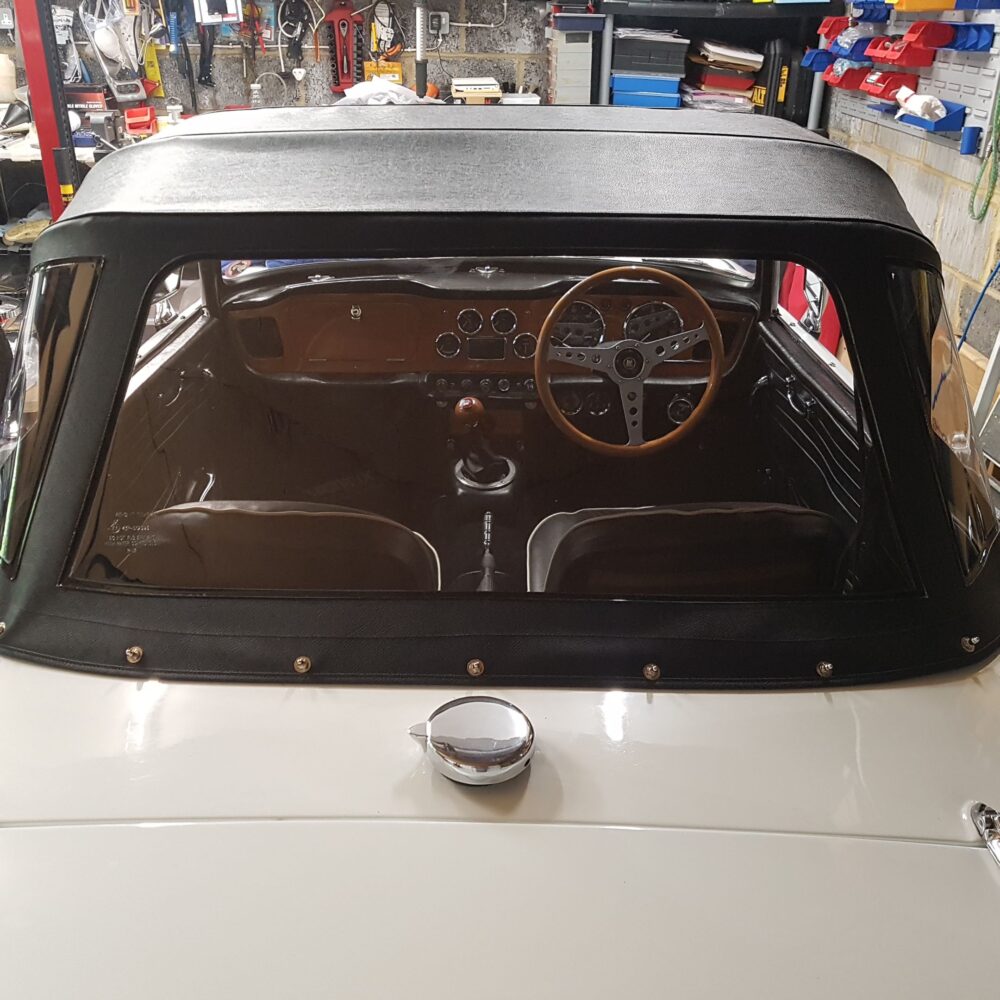
Once the retaining channel is fitted the surplus material was trimmed back with a Stanley knife. Then fitted the rubber seal in the channel a very time consuming job took about 2 hours to get it done.
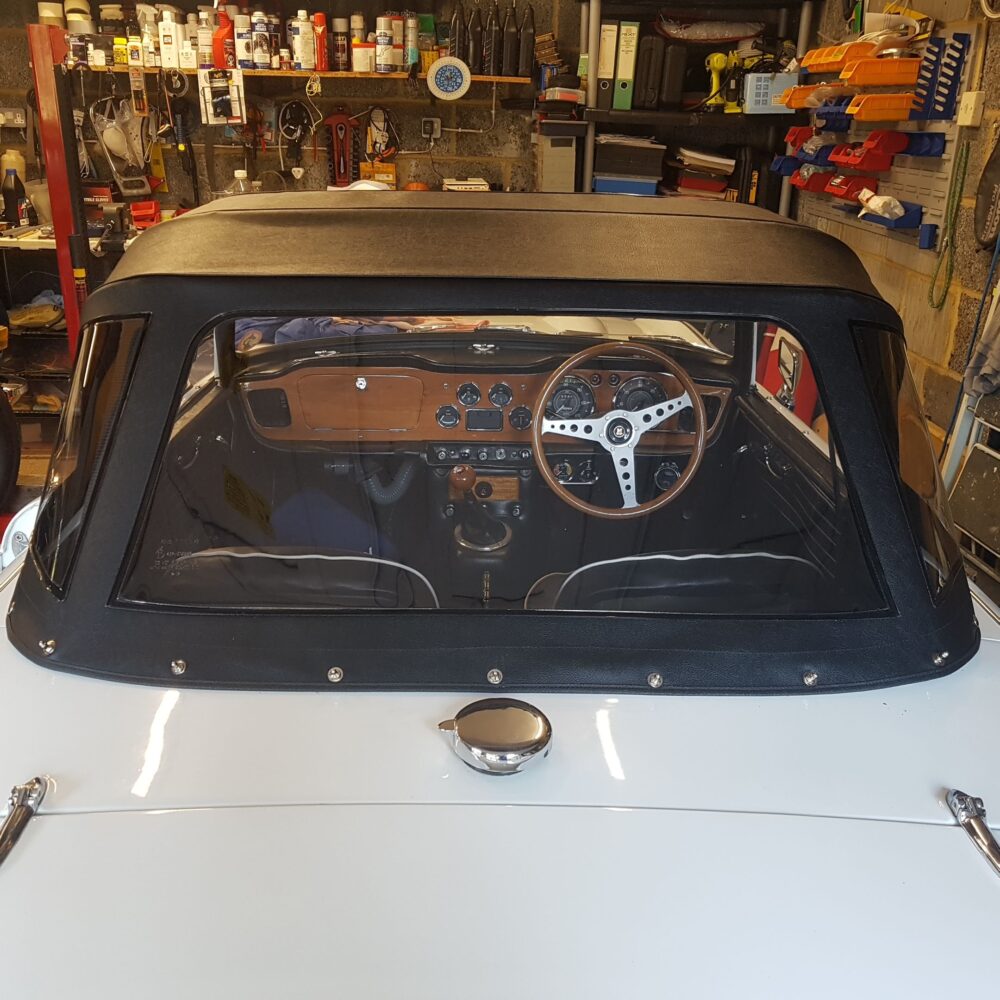
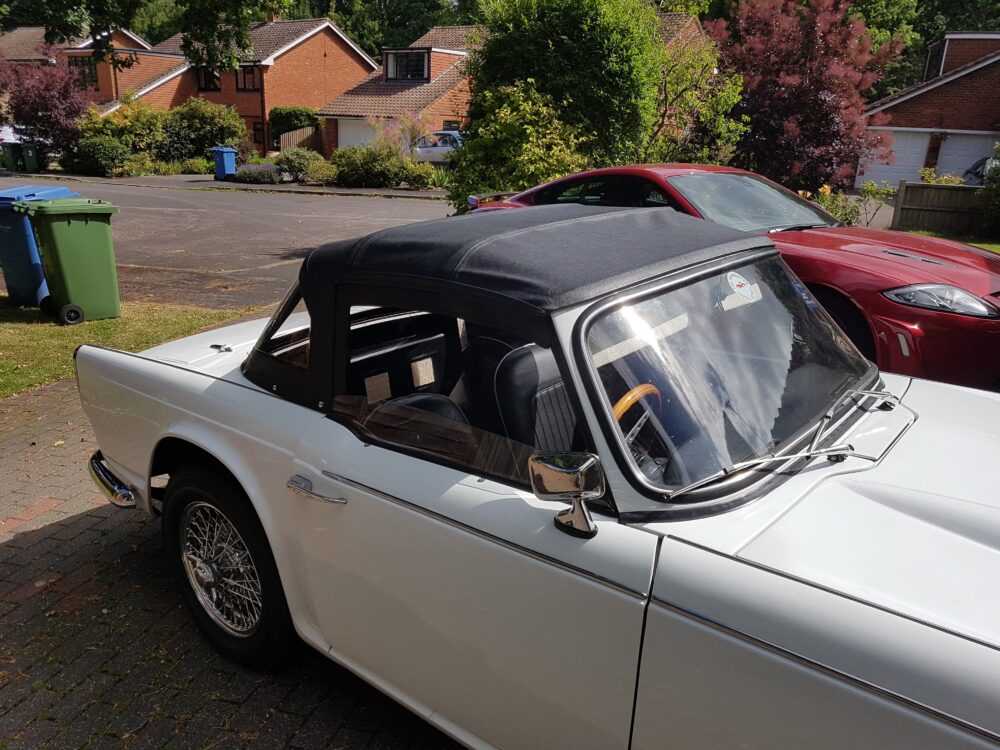
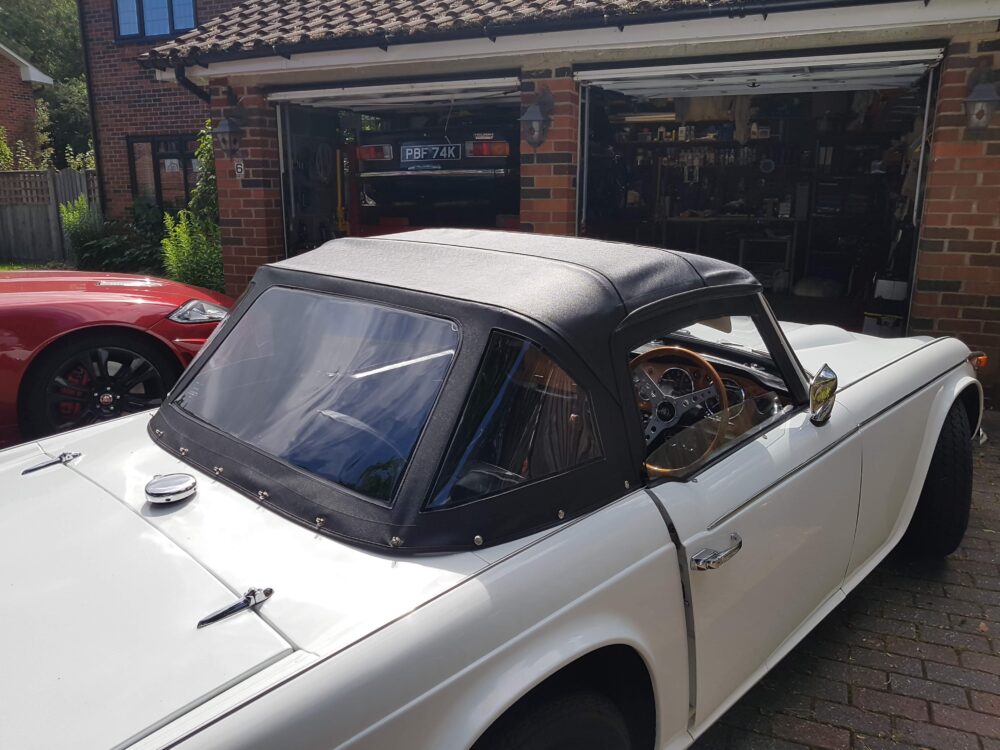
That completed the install. The processes involved were not to arduous however, fitting a tailored hood to a 50+ year old car means that a few compromises needed to be made.
This was the first time I have attempted hood fitting and I think I would give myself 8 out of 10 for the final result.


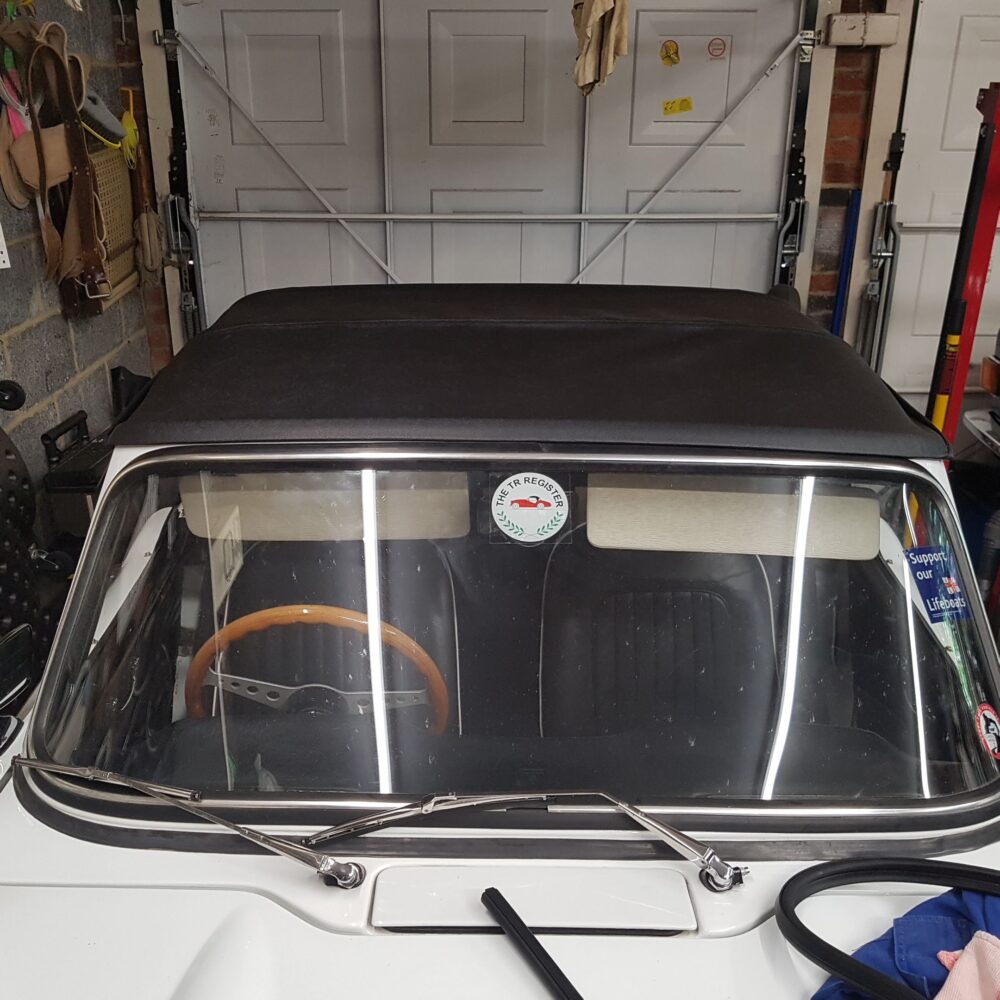
Final result not too shabby.
Tim

great presentation and excellent photos ,very useful to know about the marine fastener tool.must have saved a few finger nails! Did you heat your garage up first?
I wish I knew an easy way to adjust my hood to make securing the hood in winter any ideas?Thank you for sparing your time to share your experience with us
Thank you John I was quite pleased with the outcome although, as always, there are still one or two things I would have done differently. The ambient temperature was between 20 to 22 degrees. I still have one side flap that will no longer stretch to secure the popper in the cold. Considering relocating one or two press studs to get it to do up.